How to Make Whipped Immune Support Butter
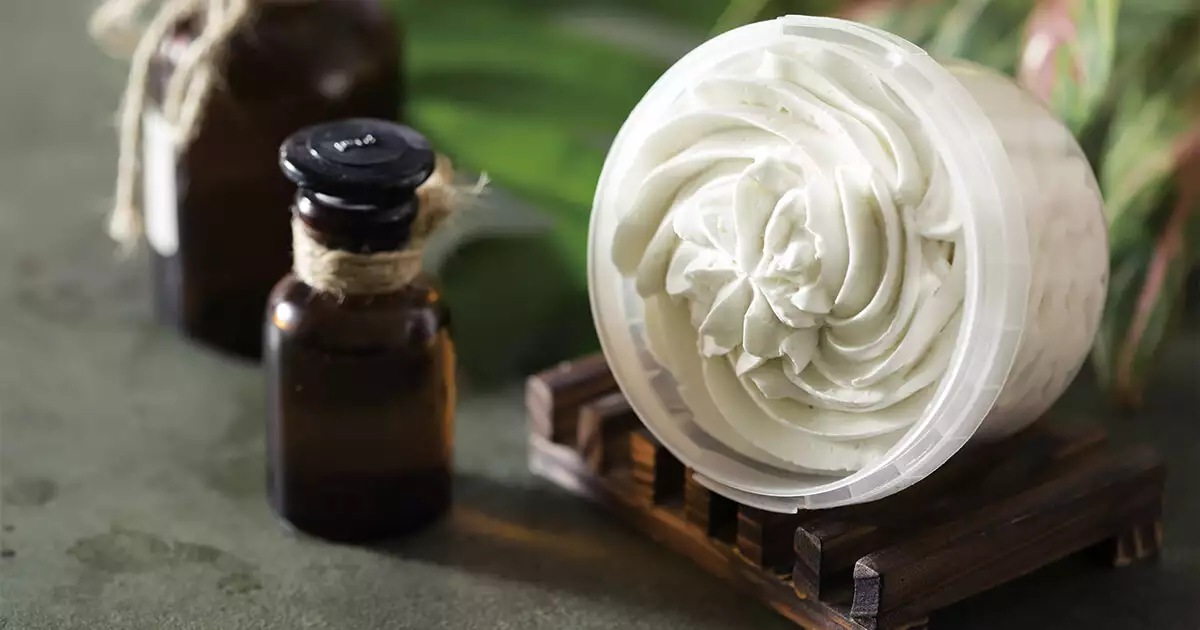
Whipped body butter is one of the most luxurious DIY aromatherapy blends you can make!
Once you have a decadent base recipe, you can add any essential oils.
That way, you can customize your whipped body butter for skin repair, relaxation, mental clarity, and practically any issue that you want to use essential oils.
Today we're making Whipped Immune Support Butter! We're using essential oils that help relax the nervous system, boost immunity, and reduce the presence of germs.
Using your Whipped Immune Support Body Butter daily is a great way to keep your skin moisturized while approaching immune health from a "long-term" point of view. An immune support butter has to be gentle enough to use daily; it's not delivering high concentrations of essential oils for "acute" issues but a moderate concentration of oils over a more extended period.
Think of this immune support butter as a long-term commitment to your immune system. (And it's so fun and luxurious to apply!)
You can watch me make this recipe in a video.
It's helpful to see the texture of my body butter (especially after I let it solidify in the fridge for a while), so you can be confident you're on the right track.
Whipped Immune Support Butter
Support your immune system and nourish your skin with this luxurious blend.
Ingredients
4 oz (112 g) Shea Butter (Vitellaria paradoxa/Butyrospermum parkii)
2 oz (56 g) Coconut Oil (Cocos nucifera)
1 oz (28 g) Cocoa Butter (Theobroma cacao)
1 oz (30 ml) Jojoba oil (Simmondsia chinensis)
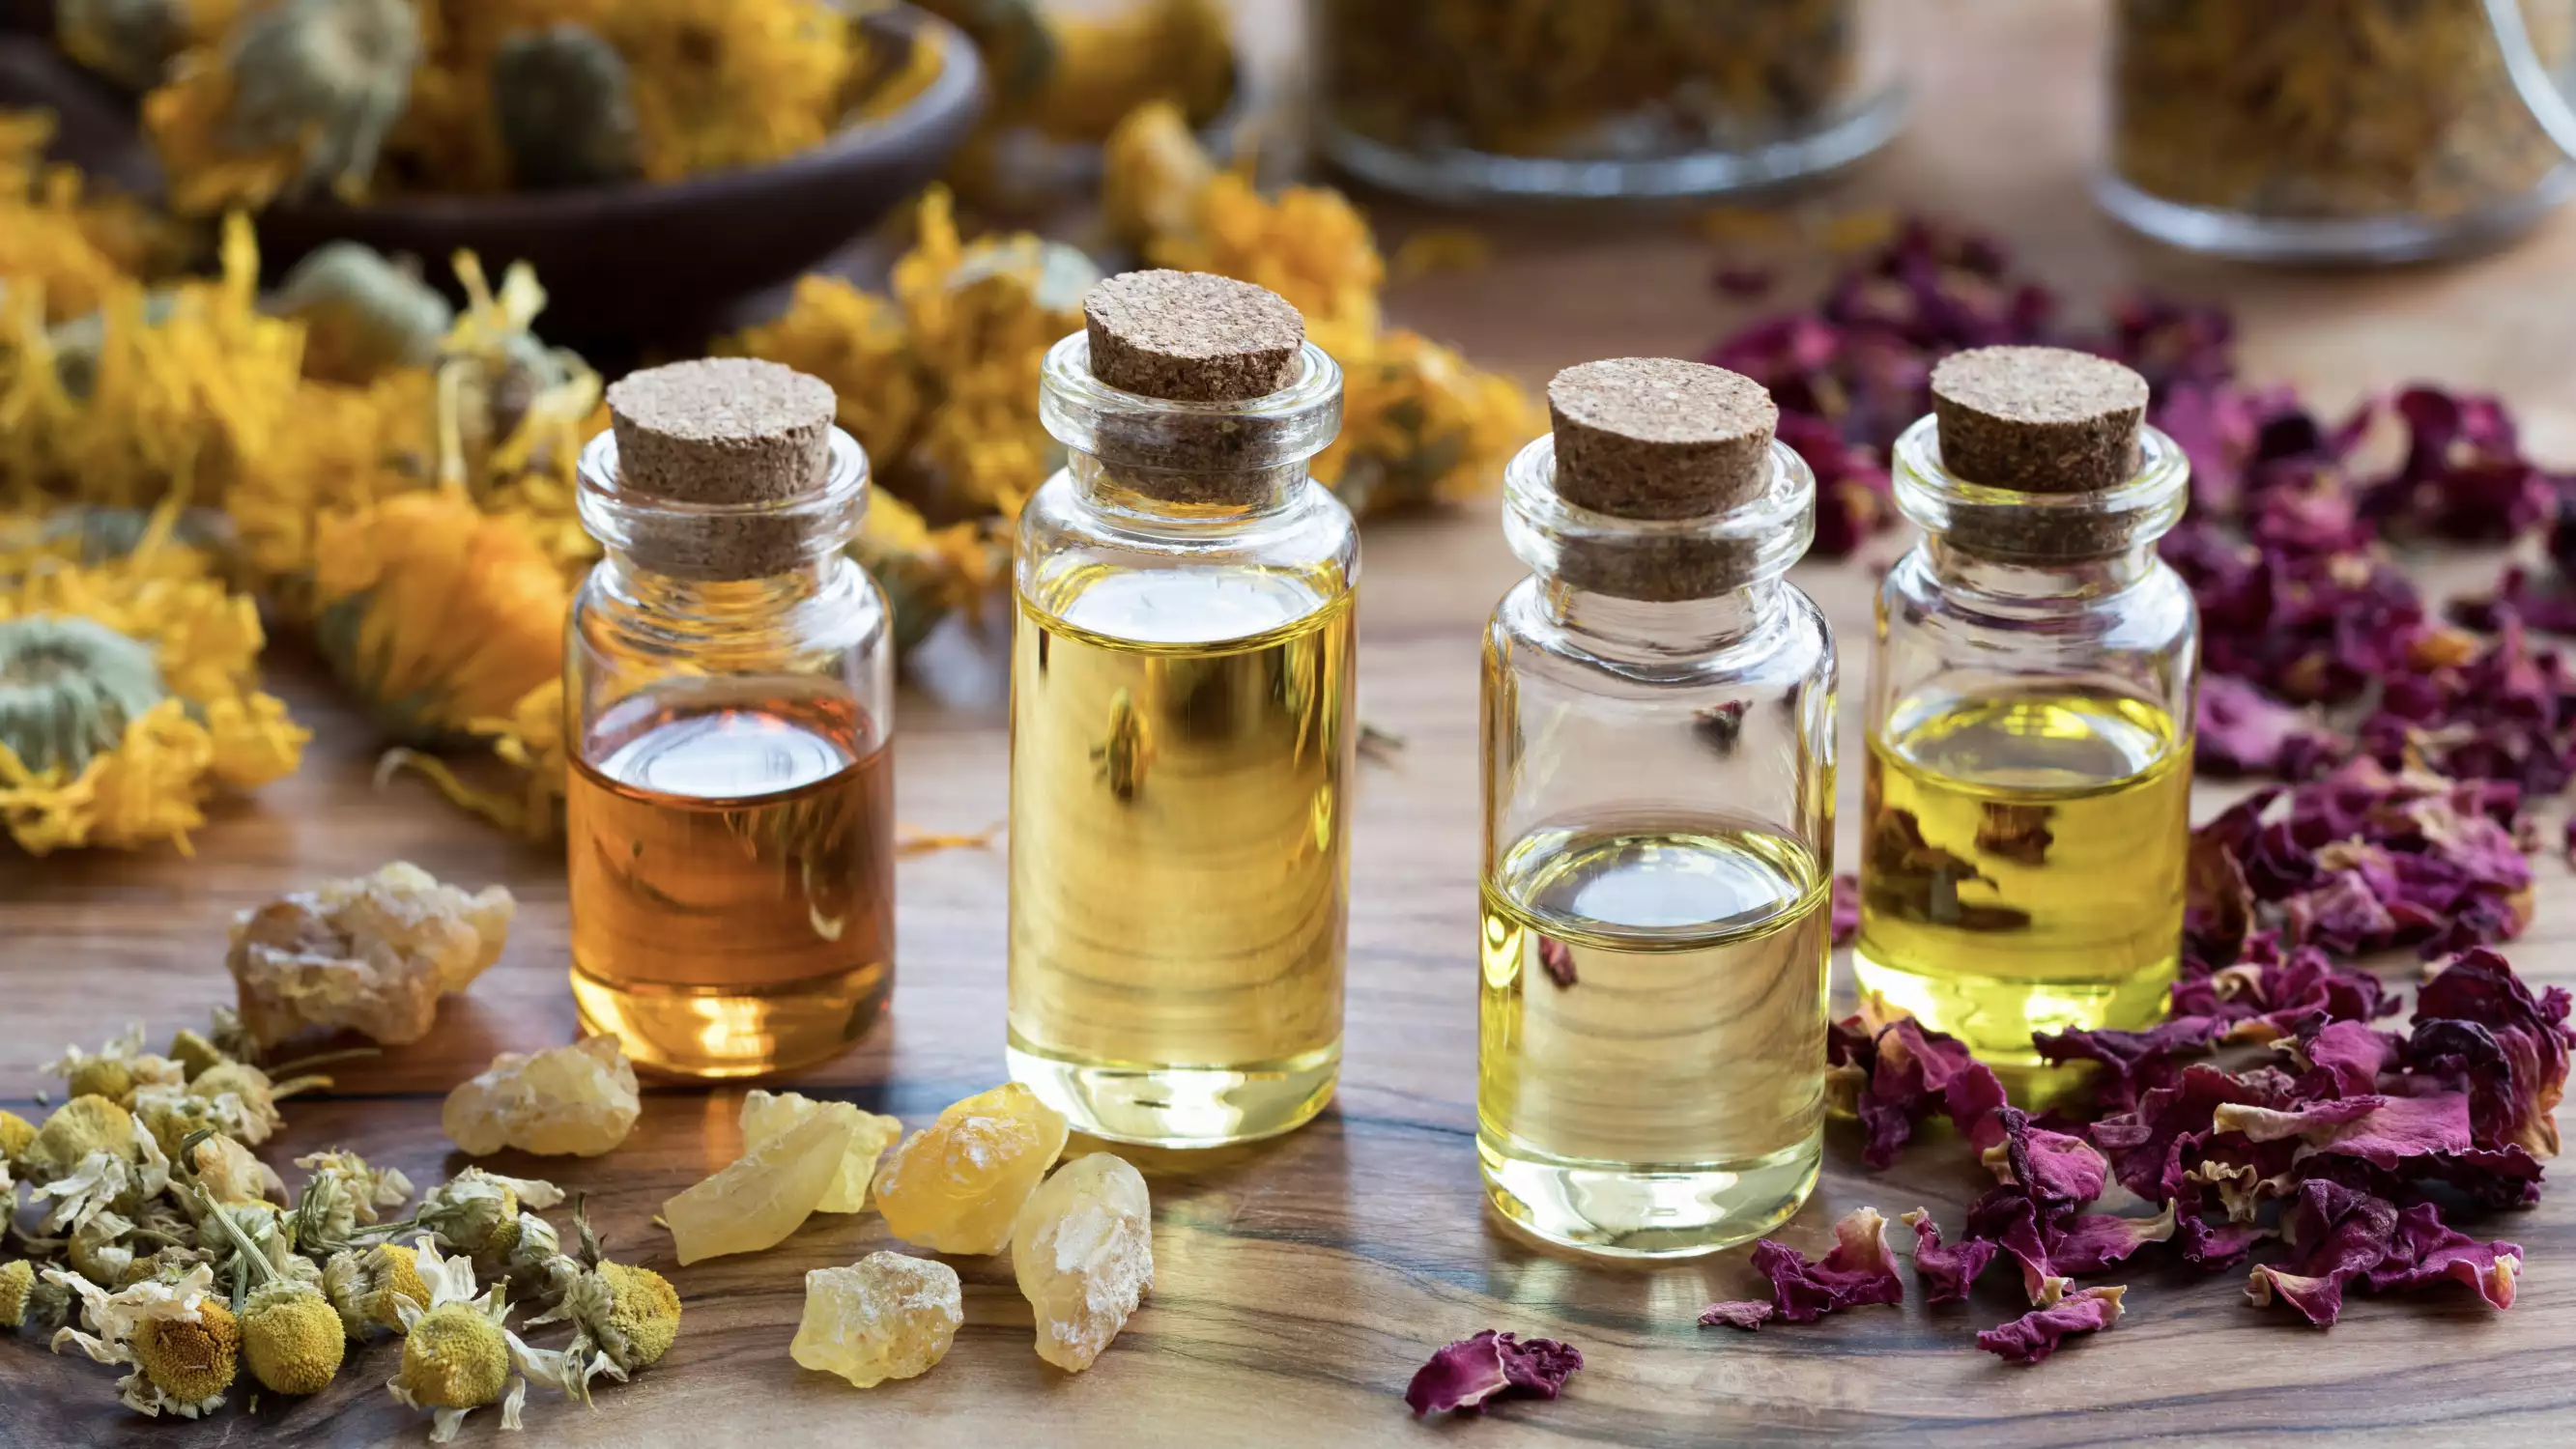
32 drops Sweet Orange Oil (Citrus sinensis)
25 drops Eucalyptus Dives Oil (Eucalyptus dives)
25 drops Ghandi Root Oil (Homalomena aromatica)
Equipment
Glass or stainless steel bowl
Immersion blender
Double boiler
Glass measuring cup
Spatula
Directions
Set up a DIY "double boiler" Put a glass measuring cup into a flat-bottomed soup pot that's ¼ full of simmering water. Leave the measuring cup's handle hanging over the edge of the pot so it doesn't become too hot. Your ingredients will go in the measuring cup, and the water will heat the glass to melt them.
Melt the cocoa butter first. It's the firmest ingredient. When the cocoa butter is melted...
Add the coconut oil and melt.
Add the jojoba oil and melt. You might notice the jojoba turning solid when you pour it into the melted butter. This is normal! It will return to liquid as it heats. You can gently stir your melted butter with a spatula.
Remove the blend from the heat and add the shea butter. Shea butter doesn't like too much heat, so it's best to add it last. Stir until your shea butter is melted.
Pour your melted butter into a glass or stainless steel bowl.
Pop the bowl into your refrigerator for about 20 minutes.
Prepare your essential oils. You will add them to the butter while using a blender, so it's helpful to count out the essential oil drops beforehand. You can put them all into the same little dish or beaker.
After 20 minutes, check your butter blend. You're looking for a solid, white-translucent layer on the very top of your butter. If it's not forming, you can leave your butter in the fridge for longer, or pop it into the freezer to speed up the process.
When your butter has a thin, solid, whitish layer on the top, take it out of the fridge.
PRO TIP: If you get called away from the kitchen and your body butter freezes through, that's okay. Just leave it out until it returns to room temperature. (Cover the bowl with a towel to protect it from dust.)Use your spatula to scrape the sides of the bowl. Go ahead and "glop" the solid stuff into the middle of the bowl!
Time to break out your immersion blender! Use the blender to whip your butter into a light, creamy, fluffy butter.
As you blend, add the drops of essential oil slowly.
Remember that after you stop blending, your whipped body butter will keep getting firm for about a day. So the texture that it's at when you stop blending won't necessarily stay the same. I like to stop blending when my body butter is rich and creamy.
PRO TIP: If you blend for too long and your body butter gets too firm, add more jojoba to loosen it up again.
About the Essential Oils in this Immune Support Body Butter
Sweet Orange Essential Oil (Citrus sinensis)

Sweet Orange essential oil's warm, sunny scent can help you feel energized or relaxed based on how you use it!
In our immune support butter, sweet orange oil has a calming touch.
Sweet orange oil is also rich in a natural component called d-limonene.
We have a LOT of research on d-limonene, so we know that it offers incredible immune support soothing inflammation and reducing the presence of germs. (Sweet orange oil is often used in natural cleaning blends because of this.)
Eucalyptus Dives Essential Oil (Eucalyptus dives)
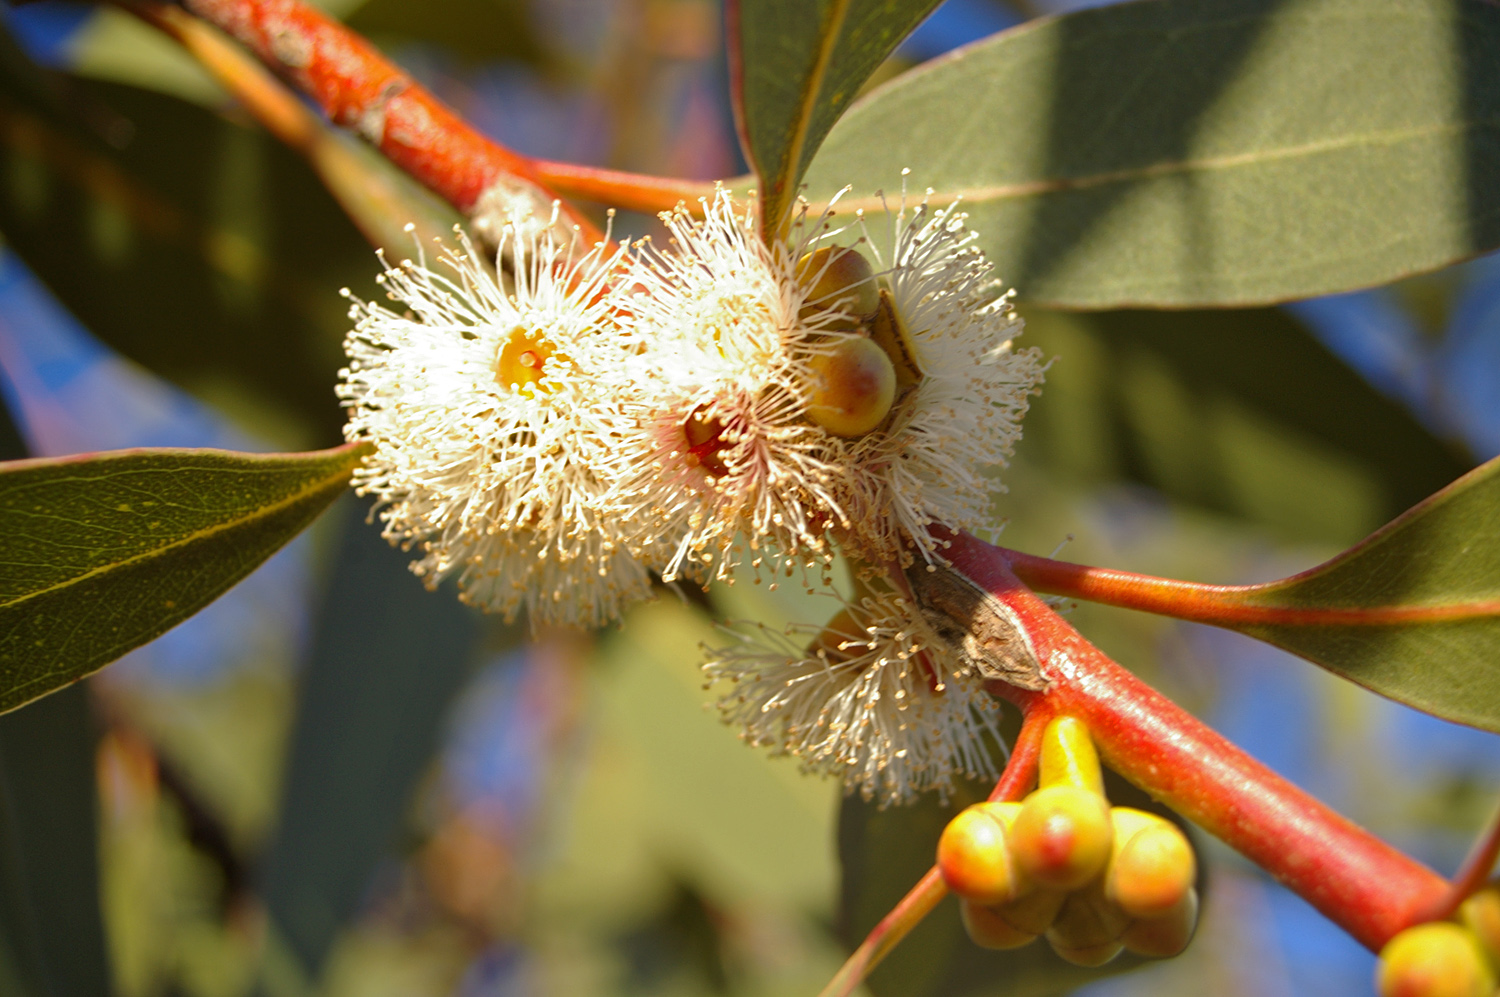 Did you know there are many species of eucalyptus?
The dives species is also known as "broad-leaf peppermint." Most species of eucalyptus are remarkable for respiratory health and immune support but Dives goes about it uniquely.
While most eucalyptus oils contain high quantities of something called 1,8-cineole (a famous component for respiratory health), eucalyptus dives contains a lot of a-phellandrene.
In research, a-phellandrene has shown us that it's useful for immune support, calming muscle inflammation, and even for clearing away germs.
Ghandi Root Essential Oil Homalomena aromatica
 Ghandi root isn't as well-known as sweet orange and eucalyptus, but it makes a big statement!
This deep, earthy oil is distilled from the roots of a plant in India and has a rich, base aroma that may remind you of wood smoke.
Ghandi root shares something in common with lavender oil—they both contain high percentages of a widely studied component called linalool.
Linalool is proven to calm inflammation, relax the nervous system (which can boost immune health in and of itself), eliminate germs, and spark the immune system into action.
Yup—linalool does all of that!
Enjoy moisturizing your skin and building your immunity!
Once you use up your Whipped Immune Support Butter, you can make the body butter recipe again.
Next time, choose your essential oil blend! Try lavender, cedarwood, and frankincense—those three make a beautiful blend for skin's health and have their ways of supporting immunity.
Are you going to make this recipe? I'd love to know how it turns out in the comments!
If you’re passionate about promoting natural health and wellness for your family and home, Aromatherapy for Natural Living is for you!
In this course, you’ll learn practical, hands-on methods for establishing a healthy lifestyle using essential oils. From cleaning your home to creating DIY skin care products to supporting your immunity, this course will teach you everything you need to know to live an all-natural lifestyle.